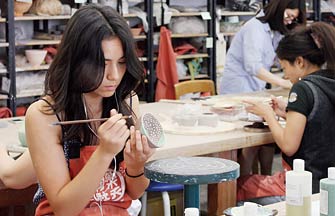
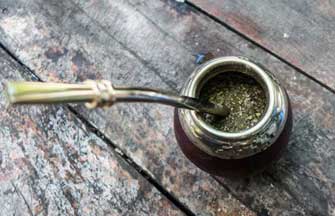
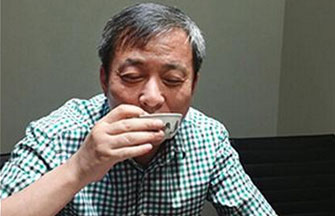
Step-by-step to a handmade cup
The whole technique of making a pottery piece may look rather complicated to a complete beginner. We demystify the process with the following beginner's guideline on how to make a cup. Have fun and don’t be afraid to get your hands dirty.
Tools: Clay, potter's wheel, needle, writing brush, underglaze pigments and bamboo blade.
10 STEPS TO SUCCESS
1. Prepare a fist-sized clay ball, press and pinch it by hand into a 1cm-thick round.
2. Place clay on the wheel, and use the needle to cut it into the shape you want.
3. Take some more clay and pinch it into strips. Roll the strips into even thickness and length.
4. Use the needle to outline the round of clay and the strips, roughing up the surface. Use the brush to apply a layer of slurry of clay.
5. Bond the round of clay with the first strip, snip off extra bits and use your fingers to smooth the joint together.
6. Repeat with more strips until it reaches the desired height.
7. If you want to make a handle, roll out a thicker strip of clay and shape it into a handle, which you can bond onto the side of your cup.
8. Wait for the cup to dry, which normally takes one to two days, and then apply the underglaze.
9. The cup is now placed into the kiln for the first firing, which is called biscuiting.
10. When the biscuiting is done, the cup is ready for the final glaze, which will give it color and shine. Once the glazed cup is fired and cooled, you will get to see your final handiwork.
|
|
|
|
|
|
Copyright 1995 - . All rights reserved. The content (including but not limited to text, photo, multimedia information, etc) published in this site belongs to China Daily Information Co (CDIC). Without written authorization from CDIC, such content shall not be republished or used in any form. Note: Browsers with 1024*768 or higher resolution are suggested for this site.
License for publishing multimedia online 0108263 Registration Number: 20100000002731 ![]()


 Raymond Zhou:
 Pauline D Loh:
 Hot Pot
 Eco China
 China Dream
 China Face